Texturing is the process of creating and applying textures to the 3D model whereas Lighting is the visual representation. The roles of texturing and lighting are vital in 3D commercials and product visualization.
KLiC 3D Texturing & Lighting
A Texturing Artist is a person with 2D drawing and painting skills, he / she understands lighting, shades, colours and composition of the art work. He / she creates realistic textures that are applied to 3D models and environments in games, TV, shows etc.
120 hours (2 months)
Center, Mobile, Online

This course includes:
- Language: English
- Duration: 120 hours (2 months)
- Learning Mode: Center, Mobile, Online
- Jurisdiction: Nationwide
- Certificate of Completion
Eligibility
- Learner should preferably a std. 10th Pass student (Not Compulsory)
- It is desirable that Learner should have done MS-CIT Course (Not Compulsory)
What you'll learn ?
Certification
- KLiC courses are recognised by Yashwantrao Chavan Maharashtra Open University (YCMOU).
- MKCL provides certificate to the KLiC learner after his/her successful course completion.
- Yashwantrao Chavan Maharashtra Open University (YCMOU) provides mark sheet to successfully passed KLiC learners (Jurisdiction: Maharashtra).
Important Dates
- Batch Commencement: One batch in each calendar month (January to December)
- Date(s) of Application and Fee Payment by Learner: 1st - 30th day of each calendar month
- Date(s) of Learner Confirmation by ALC: 1st - 30th day of each calendar month
- Course Start Date and Date of Issuing Learner Login: Date of admission confirmation
Academic Approach
The academic approach of the courses focuses on the “work-centric” education i.e. begin with work (and not from a book!), derive knowledge from work and apply that knowledge to make the work more wholesome, useful and delightful. The ultimate objective is to empower the Learner to engage in socially useful and productive work. It aims at leading the learner to his/her rewarding career as an employee or entrepreneur as well as development of the community to which s/he belongs. Learning methodology:
- Step -1: Learners are given an overview of the course and its connection to life and work.
- Step -2: Learners are exposed to the specific tool(s) used in the course through the various real-life applications of the tool(s).
- Step -3: Learners are acquainted with the careers and the hierarchy of roles they can perform at workplaces after attaining increasing levels of mastery over the tool(s).
- Step -4: Learners are acquainted with the architecture of the tool or tool map so as to appreciate various parts of the tool, their functions, utility and inter-relations.
- Step -5: Learners are exposed to simple application development methodology by using the tool at the beginner’s level.
- Step -6: Learners perform the differential skills related to the use of the tool to improve the given ready-made industry-standard outputs.
- Step -7: Learners are engaged in appreciation of real-life case studies developed by the experts.
- Step -8: Learners are encouraged to proceed from appreciation to imitation of the experts.
- Step -9: After the imitation experience, they are required to improve the expert’s outputs so that they proceed from mere imitation to emulation.
- Step-10: Emulation is taken a level further from working with differential skills towards the visualization and creation of a complete output according to the requirements provided. (Long Assignments)
- Step-11: Understanding the requirements, communicating one’s own thoughts and presenting are important skills required in facing an interview for securing a work order/job. For instilling these skills, learners are presented with various subject-specific technical as well as HR-oriented questions and encouraged to answer them.
- Step-12: Finally, they develop the integral skills involving optimal methods and best practices to produce useful outputs right from scratch, publish them in their ePortfolio and thereby proceed from emulation to self-expression, from self-expression to self-confidence and from self-confidence to self-reliance and self-esteem!
Syllabus
- Watching 3D movies
- Entering into CGI industry
- Beginning with CGI
- Taking a career path in 3D industry
- Freelancing ,Selling 3D Content
- Getting started with 3D software
- Working with Blender
- Situation first model
- What is Lighting
- How to use spot lamp to create table lamp lighting
- How to apply atmospheric lighting to Desert scene
- How to use point lamp to create lightball with pillars
- How to use area light to create TV unit light setup
- What are advantages of cycles render in lighting
- How to use Global illumination colour bleeding light bouncing
- How to use Light Path Node to create realistic glass
- How to use Blackbody Node for color temperature
- How to use emission shader to create neon light
- How to illuminate a brick room using primitives with emitting light
- How to light interior room using IES light
- How to create IES lighting manually
- How to use studio light for presenting a organic monster model
- How to enhance Pool table using HDRI lighting
- How to add realism to a scene using Gobo light
- How to use Normal Map in lighting
- How to bake AO maps for indoor room
- How to add Bloom Effect to an image using composite nodes
- How to enhance dessert scene by using Sun flare
- How to use spot lamp as light shafts from the Tree
- How to use camera and emission to create bokeh effect
- How to add caustics for under water scene
- How to enhance a Corridor scene by adding fog
- How to create day lighting for indoor scene
- How to light indoor scene in game engine
- How to create night lighting for indoor scene
- How to create night lighting for Desert scene
- Begin with 3D Texturing: a new Texturing artist takes references
- How to create Earth / Globe
- How to create Colgate Box
- How to create Match box
- How to create different types of Maps
- How to create Sword
- How to create Stone
- How to create Monster
- How to apply Shaders to Primitive
- How to texture on Sphere Objects in cycle render
- How to create Wooden chair
- How to create Bulb
- How to create Glass and Milk Texture
- How to create Gold
- How to create Bronze
- How to create Anisotropic Utensils
- How to create Tea Cup (Ceramic Shading)
- How to create Subsurface Scattering
- How to use Projection Painting
- Other than CG Lighting artist in brief
- The Story of CGI
Skills: 3D movies, Comprehend CGI, CG Lighting artist, Open ended activity, Lighting to 3D Primitive, Different types lights & light setup, presenting a organic model, lighting scenes according to environment or ambience. CG Texturing artist, Open ended activity, Texture to 3D Primitive, Different types of Maps, Start using xNormal, Monster, Anisotropic Utensils, Projection Painting
Outputs: Realistic glass, Desert scene, IES light, Gobo light, Bloom Effect, Indoor scene, Night lighting for Desert scene, Bokeh effect, HDRI lighting Earth/Globe, Sword, Stone, Wooden Chair, Glass and Milk texture, Bronze, Subsurface Scattering, Match Box
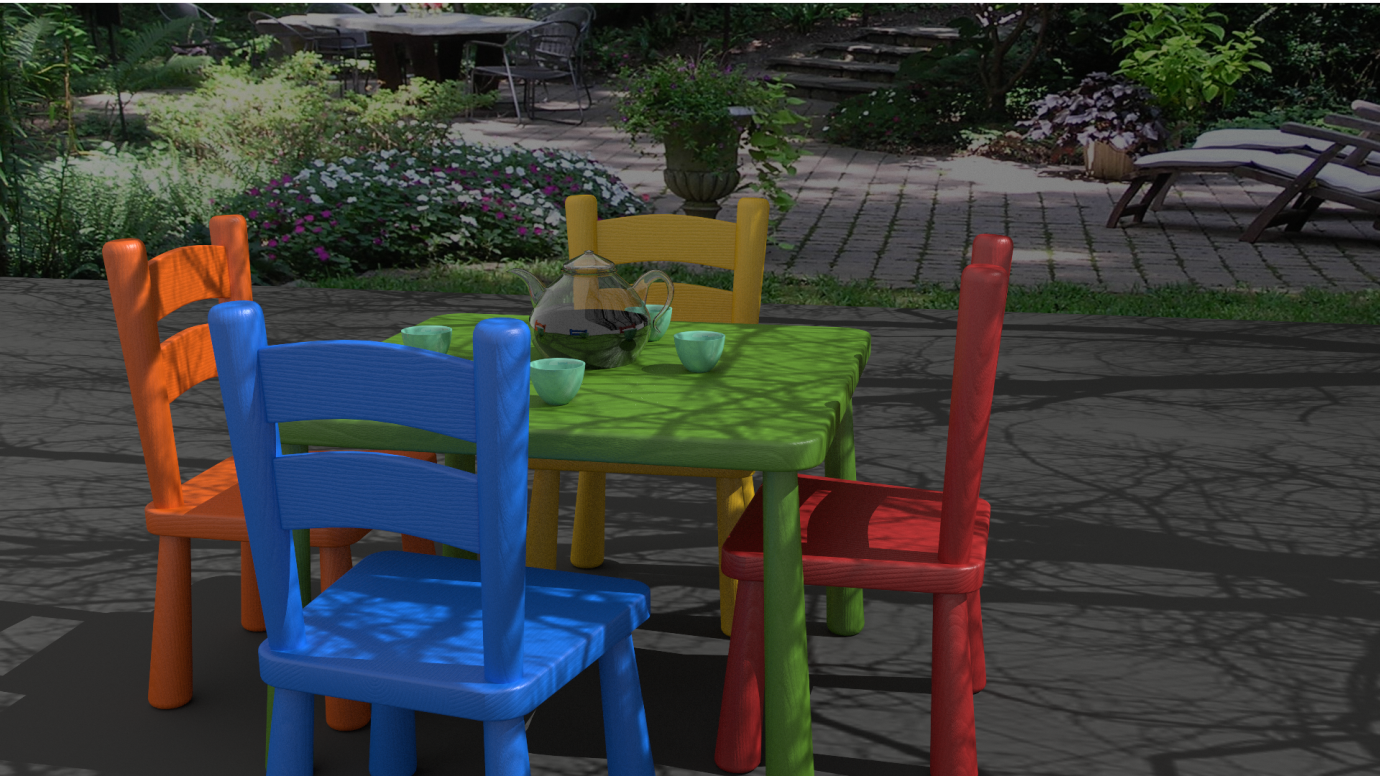
Gobo light on table
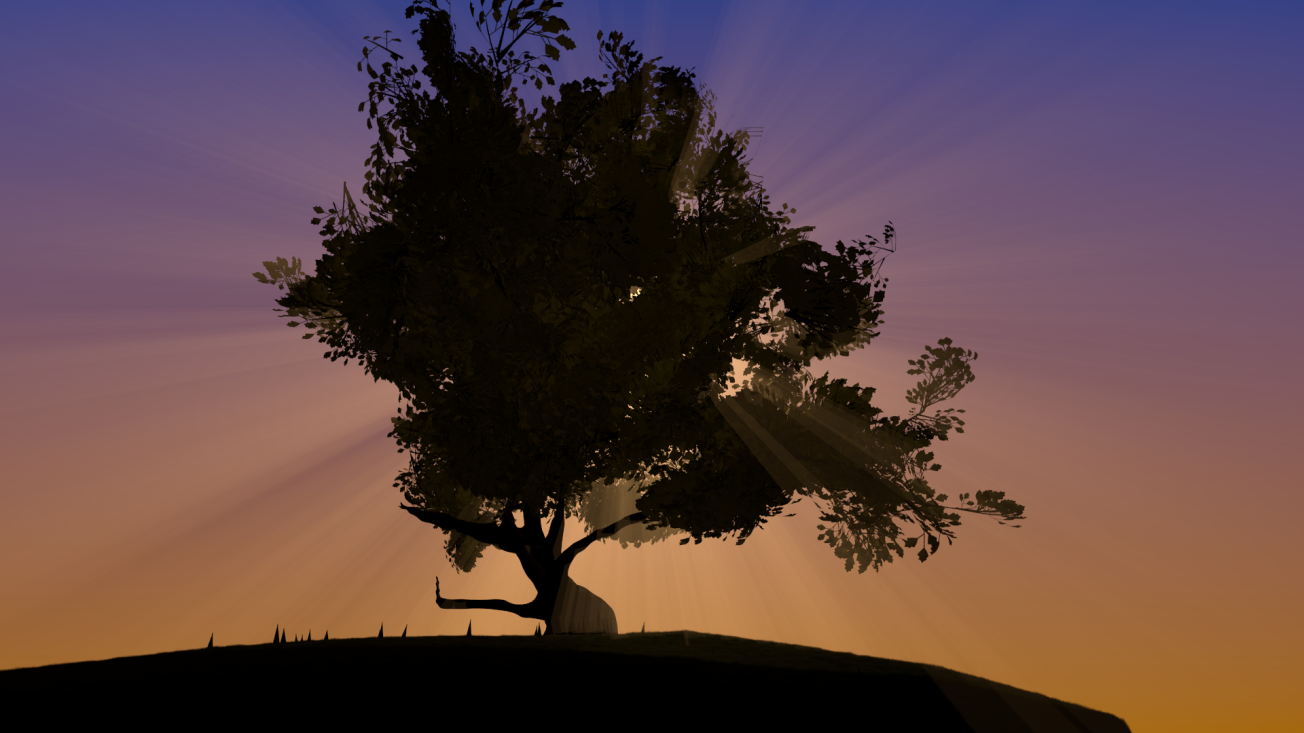
Tree with Light Shafts
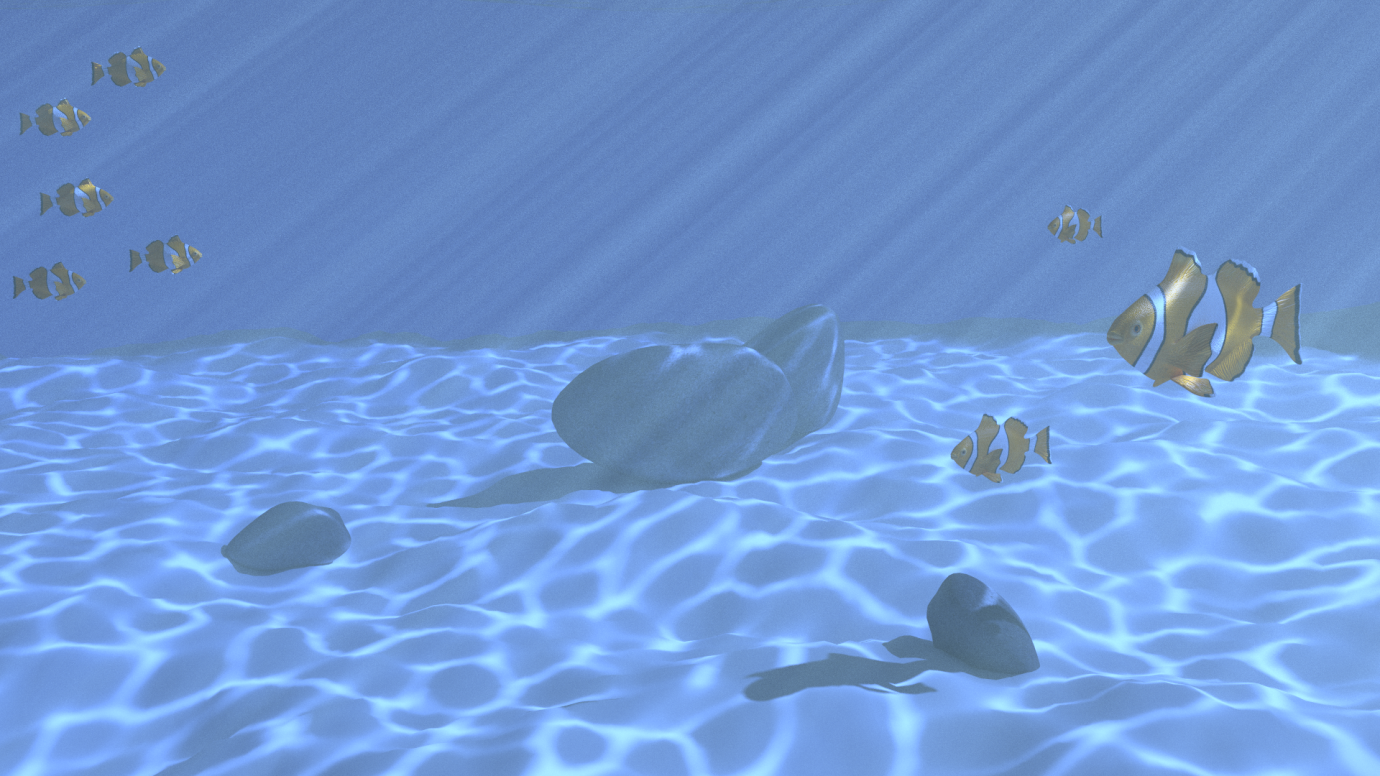
Caustics for under water scene
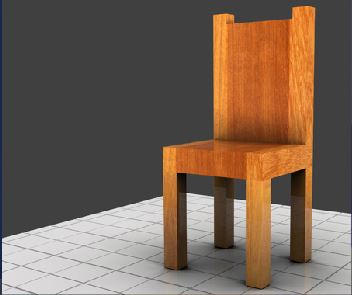
Wooden Chair
Match Box

Evaluation Pattern
Evaluation Pattern of KLiC Courses consists of 4 Sections as per below table:
| Section No. | Section Name | Total Marks | Minimum Passing Marks |
|---|---|---|---|
| 1 | Learning Progression | 25 | 10 |
| 2 | Internal Assessment | 25 | 10 |
| 3 | Final Online Examination | 50 | 20 |
| Total | 100 | 40 | |
| 4 | SUPWs (Socially Useful and Productive Work in form of Assignments) | 5 Assignments | 2 Assignments to be Completed & Uploaded |
YCMOU Mark Sheet
Printed Mark Sheet will be issued by YCMOU on successful completion of Section 1, Section 2 and Section 3 and will be delivered to the learner by MKCL.
YCMOU Mark Sheet will be available only for Maharashtra jurisdiction learners.
MKCL's KLiC Certificate
The certificate will be provided to the learner who will satisfy the below criteria:
- Learners who have successfully completed above mentioned 3 Sections i.e. Section 1, Section 2 and Section 3
- Additionally, learner should have completed Section 4 (i.e. Section 4 will comprise of SUPWs i.e. Socially Useful and Productive Work in form of Assignments)
- Learner has to complete and upload minimum 2 out of 5 Assignments
KLiC Courses Fee Structure for the year 2024
For Mumbai, Mumbai Suburb, Thane, Palghar and Raigad District Area under Mumbai Metropolitan Region Development Authority (MMRDA) Region and Revised Fee applicable from February 2024 Batch onwards as mentioned below:
KLiC Courses of 120 Hours:
| Mode | Total Fee (Rupees) |
Single Instalment (Rupees) |
Two Instalments (Rupees) |
| Single Installment | 6000/- | 6000/- | N/A |
| Two Installments | 6200/- | 3100/- | 3100/- |
Total fee is including of Course fees, Examination fees and Certification fees
For Thane, Palghar and Raigad District Area comes under (Non-MMRDA): Region: Fee applicable from January 2024 Batch onwards as mentioned below:
KLiC Courses of 120 Hours:
| Mode | Total Fee (Rupees) |
Single Instalment (Rupees) |
Two Instalments (Rupees) |
| Single Installment | 5000/- | 5000/- | N/A |
| Two Installments | 5200/- | 2600/- | 2600/- |
Total fee is including of Course fees, Examination fees and Certification fees
For all Districts of Maharashtra (except Mumbai, Mumbai Suburb, Thane, Palghar and Raigad Districts): Fee applicable from January 2024 Batch onwards as mentioned below:
KLiC Courses of 120 Hours:
| Mode | Total Fee (Rupees) |
Single Instalment (Rupees) |
Two Instalments (Rupees) |
| Single Installment | 5000/- | 5000/- | N/A |
| Two Installments | 5200/- | 2600/- | 2600/- |
Total fee is including of Course fees, Examination fees and Certification fees
Important Points:
* Above mentioned fee is applicable for all Modes of KLiC Courses offered at Authorised Learning Center (ALC) and at Satellite Center
* Total fee is including of Course fees, Examination fees and Certification fees
* MKCL reserves the right to modify the Fees of Courses during the year without any prior notice and MKCL shall not be liable to anyone for any such modification/s
View Courses on Offer