- In this course, you will learn to:
- Define the core functionalities and applications of Camtasia for video editing
- Demonstrate setting up projects, importing files, and creating motion banners in Camtasia
- Organize and manage files efficiently within Camtasia's environment
- Recognize the benefits of using collaborative tools in video editing projects
- Operate Camtasia for effective screen recording and integrate these recordings into projects
- Examine advanced editing techniques and the importance of version control in Camtasia
- Compare Camtasia's features with DaVinci Resolve to understand their distinct applications
- Identify and apply intermediate editing skills and audio mixing techniques in DaVinci Resolve
- Categorize color grading and green screen processes in DaVinci Resolve for enhanced visual storytelling
- Construct compelling motion graphics and visual effects using DaVinci Resolve's Fusion
- Summarize ethical practices in video editing, focusing on copyright and intellectual property rights
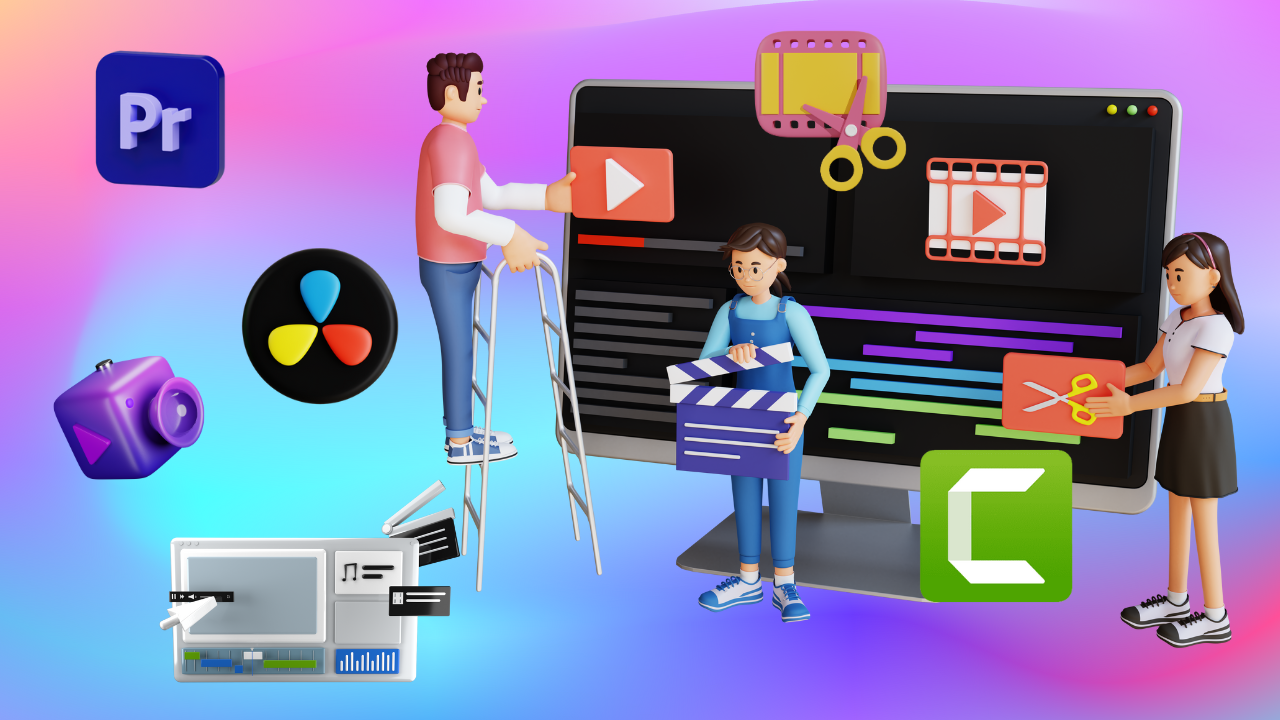
Mastering Video Editing Tools and Motion Design
Dive into advanced video editing software and create dynamic motion designs for professional video production.
Course Features:
- Language: English
- Track: Digital Designing
- Duration: 30 hours
- Level: Intermediate
- Learning Mode: Learn at ALC or Learn Online
- Stream: Any Stream
- Jurisdiction: Maharashtra
- Certificate of Completion
Eligibility
- Learner should preferably a std. 10th Pass student (Not Compulsory)
- It is desirable that Learner should have done MS-CIT Course (Not Compulsory)
KLiC Certificate in Mastering Video Editing Tools and Motion Design
Introduction
What you'll learn ?
- At the end of this course, learners will be able to:
- Interpret the functionalities of Camtasia and its impact on video editing efficiency and effectiveness
- Construct a workflow within Camtasia to create, import, and organize projects, showcasing technical proficiency
- Utilize Camtasia's tools to assemble motion banners, demonstrating creativity and skill in combining various elements
- Assess the effectiveness of file organization and asset management strategies within Camtasia projects
- Compare collaborative editing tools and techniques, identifying best practices for enhancing teamwork in video projects
- Operate Camtasia's screen recording features and integrate these elements into broader video projects
- Examine and implement advanced editing techniques and version control within Camtasia, emphasizing methodical and precise editing practices
- Differentiate between Camtasia and DaVinci Resolve, understanding each tool's unique strengths and applications in video editing
- Develop intermediate editing skills in DaVinci Resolve, applying complex functions such as markers, sub clips, and audio mixing
- Design color grading and green screen interventions in DaVinci Resolve, demonstrating an ability to enhance visual appeal and narrative consistency
- Create advanced motion graphics and visual effects in DaVinci Resolve's Fusion, showcasing innovation and technical skill
- Formulate ethical considerations in video editing, emphasizing the importance of copyright compliance and intellectual property respect
Syllabus
- Uses of Camtasia
- Features of Camtasia
- Installing Camtasia
- How to create a new project in Camtasia?
- How to import files in Camtasia?
- Case Study - Create a motion banner in Camtasia
- Effective File Organization
- Asset Management
- Practical Exercise on File Organization
- Introduction to Collaborative Software
- Importance of Collaboration Tools
- Collaborate with your friends or colleagues for video editing projects
- Introduction to Version Control
- Significance of Version Control
- Hands-on Exercise on Version Control
- Reflection and Discussion
- Introduction to DaVinci Resolve
- Advantages of DaVinci Resolve
- Setting up DaVinci Resolve
- Launching DaVinci Resolve
- Understanding DaVinci Resolve
- DaVinci Resolve Settings
- Project Settings
- Introduction to Media Page
- Manage Workspace
- Importing Media
- Organizing media
- Introduction to Metadata
- Using Smart Bins in DaVinci Resolve
- Case Study - Getting started with DaVinci Resolve
- Introduction - CUT Tab
- Preview your clips within the CUT Page
- The Source Tape Preview
- Create your 1st rough CUT in the CUT Page
- Cut Page Timeline
- Timeline vs Source - Trimming
- How to use the Smart Insert?
- Introducing to the Inspector Tool
- How to add Transitions in the Cut Page
- Basic audio editing techniques
- Multiple timelines in one project
- Adding titles and text animation
- Introduction to the Edit Page
- Match Frame Find timeline Clips in Media Pool
- How to Create a New Timeline
- How to Trim and add Clips to your Timeline
- The Blade Edit
- Ripple Cut Edit
- How to Navigate the Timeline
- How to Swap Clips on the Timeline
- Timeline Zooms and Previews
- How to Customize Transitions
- How to add Titles
- Performing a Lift & Insert
- Selecting and Moving Contiguous Clips
- How to Add, Move, and Remove Tracks
- Keyboard shortcuts
- Audio mixing & effects
- Advanced effects: Smart reframe, super scale, camera tracker, scene detection, non-linear editing
- Primary and secondary color correction
- Creative color grading
- Green screen keying
- Integrating green screen footage
- Text tools and animation
- Shape tools and effects
- Particle systems and simulations
- Compositing and keying in Fusion
- Fusion effects and transitions
- Case Study - Color Grading in DaVinci Resolve
-
- Using color sequence node with RGB
-
- Color Balance in DaVinci Resolve
-
- Video stabilization in DaVinci Resolve
-
- Outcome
- Case Study - Using Green Screen in DaVinci Resolve
-
- Easy Green Screen Removal
-
- Color grading green screen footage
-
- Outcome
- Case Study - Creating Motion Graphics and Animated Text Layers
- Copyright and Intellectual Property Rights
- Obtaining Permissions for Content
- Discussing Real-world Ethical Scenarios
- Encouraging Ethical Practices
Certificate
- MKCL provides certificate (for 30/60/90 hours courses) to the KLiC learner after his/her successful course completion.
Academic Approach
The Academic Approach of the course focuses on the “work centric” education i.e. begin with work (and not from a book !), derive knowledge from work and apply that knowledge to make the work more wholesome, useful and delightful. The ultimate objective is to empower the Learner to engage in socially useful and productive work. It aims at leading the learner to his/her rewarding career as well as development of the society.
Learning methodology
- Learners are given an overview of the course and its connection to life and work.
- Learners are then exposed to the specific tool(s) used in the course through the various real-life applications of the tool(s).
- Learners are then acquainted with the careers and the hierarchy of roles they can perform at workplaces after attaining increasing levels of mastery over the tool(s).
- Learners are then acquainted with the architecture of the tool or Tool Map so as to appreciate various parts of the tool, their functions and their inter-relations.
- Learners are then exposed to simple application development methodology by using the tool at the beginner’s level
- Learners then perform the differential skills related to the use of the tool to improve the given ready-made outputs.
- Learners are then engaged in appreciation of real-life case studies developed by the experts.
- Learners are then encouraged to proceed from appreciation to imitation of the experts.
- After imitation experience, they are required to improve the expert’s outputs so that they proceed from mere imitation to emulation.
- Finally, they develop the integral skills involving optimal methods and best practices to produce useful outputs right from scratch, publish them in their ePortfolio and thereby proceed from emulation to self-expression.
Evaluation Pattern
Evaluation Pattern of KLiC Courses consists of 4 Sections as per below table:
| Section No. | Section Name | Total Marks | Minimum Passing Marks |
|---|---|---|---|
| 1 | Learning Progression | 25 | 10 |
| 2 | Internal Assessment | 25 | 10 |
| 3 | Final Online Examination | 50 | 20 |
| Total | 100 | 40 | |
| 4 | SUPWs (Socially Useful and Productive Work in form of Assignments) | 5 Assignments | 2 Assignments to be Completed & Uploaded |
MKCL’s KLiC Certificate will be provided to the learner who will satisfy the below criteria:
- Learners who have successfully completed above mentioned 3 Sections i.e. Section 1, Section 2 and Section 3
- Additionally, learner should have completed Section 4 (i.e. Section 4 will comprise of SUPWs i.e. Socially Useful and Productive Work in form of Assignments)
- Learner has to complete and upload minimum 2 out of 5 Assignments
Courses Fee Structure from 01 July, 2025 Onwards
KLiC 30 hour course fee applicable from 01 July, 2025 all over Maharashtra| KLiC Course Duration | MFO: MKCL Share (Including 18% GST) |
ALC Share (Service Charges to be collected by ALC) |
|---|---|---|
| 30 hours | Rs. 300/- | Rs. 1,500/- |
Important Points:
* Above mentioned fee is applicable for all Modes of KLiC Courses offered at Authorised Learning Center (ALC) and at Satellite Center
* Total fee is including of Course fees, Examination fees and Certification fees
* MKCL reserves the right to modify the Fee anytime without any prior notice
* Above mentioned fee is applicable for all Modes of KLiC Courses offered at Authorised Learning Center (ALC) and at Satellite Center
* Total fee is including of Course fees, Examination fees and Certification fees
* MKCL reserves the right to modify the Fee anytime without any prior notice